
When it comes to maintaining a lush, green lawn or a bountiful garden, the importance of soil quality cannot be overstated.
Soil is the foundation upon which your plants grow, and its condition can significantly impact their health and vitality.
This is where soil testing comes into play.
In this comprehensive guide, we will delve into everything you need to know about soil testing, from why it’s crucial to how to interpret the results and make informed decisions for your plants’ well-being.
Why Test Your Soil?
Understanding Soil Health
Soil testing provides a snapshot of your soil’s curreheal hlth.
Just as you would go to the doctor for a check-up, your soil needs periodic assessments to ensure it has the necessary nutrients and pH levels for plant growth.
Tailored Nutrient Management
Different plants have distinct nutritional requirements.
Soil tests help you determine which nutrients are deficient or excessive in your soil.
With this information, you can apply the right fertilizers in the right amounts, reducing waste and costs.
pH Balance
Soil pH plays a vital role in nutrient availability.
Testing your soil’s pH level ensures that it falls within the ideal range for the plants you want to grow.
For most plants, a pH of around 6.5 to 7 is desirable.
Environmental Responsibility
Over-fertilization or the incorrect use of soil amendments can harm the environment.
Soil tests guide you in using resources efficiently and minimizing the risk of polluting waterways with excess nutrients.
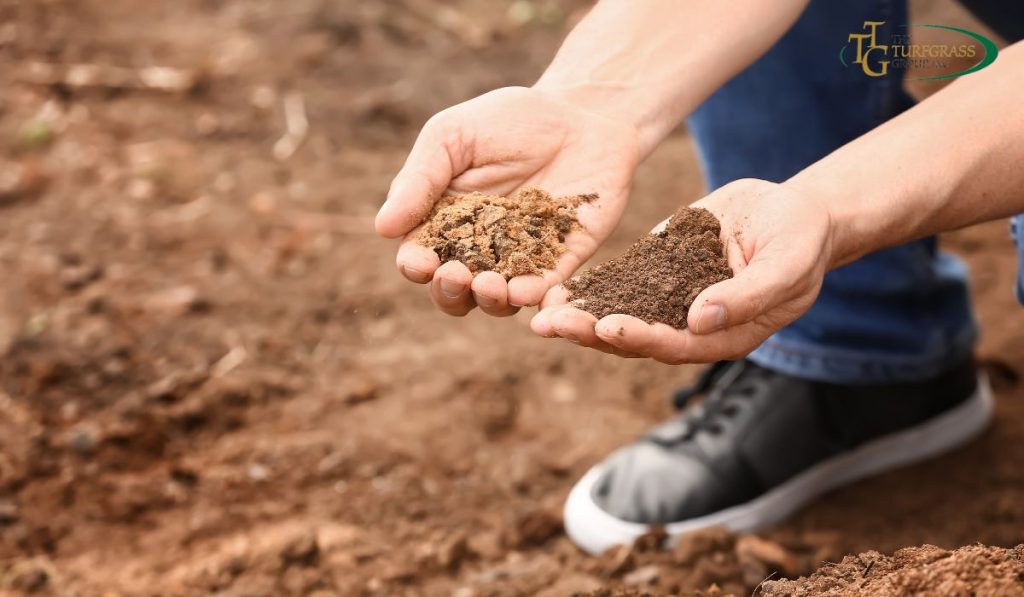
How to Test Your Soil
The accuracy of your soil test results hinges on proper sampling.
Follow these steps to collect a representative soil sample:
Choose Sampling Locations: Divide your garden or lawn into sections with similar characteristics, such as soil type, past treatment, or plant types.
Dig Properly: Using a clean shovel or spade, dig a hole about six inches deep in each selected area.
Ensure that your tools are rust-free and that your hands are clean to prevent contamination.
Collect Soil: Remove a thin slice of soil from the side of the hole, from the surface to the depth of the hole.
Place it in a clean container or bucket.
Mix Samples: Combine samples from the different areas and thoroughly mix them to create a homogenous sample.
Prepare for Testing: Allow the sample to air dry and remove any debris, such as rocks, roots, or plant matter.
The resulting soil should be clean and fine.
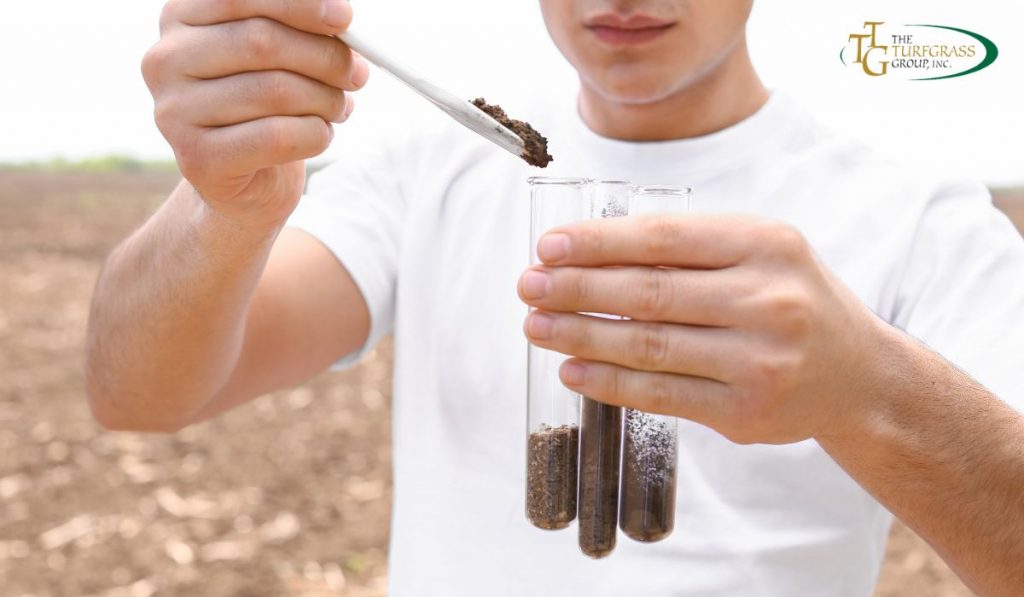
Submit for Testing: Package about two cups of the prepared soil in a labeled bag or container and send it to a reputable soil testing laboratory or your local extension service.
Interpreting Soil Test Results
Understanding your soil test results is essential to make informed decisions about soil management.
Here’s what you need to know:
Soil pH:
- Ideal pH varies for different plants, but generally, a slightly acidic pH of around 6.5 to 7 is suitable for most.
- Adjust pH as needed using lime to raise pH (for acidic soils) or sulfur to lower pH (for alkaline soils).
Nutrient Levels (P, K, Ca, Mg):
- These macronutrients are essential for plant growth.
- Match nutrient levels to specific plant requirements.
- Avoid over-application, which can harm both plants and the environment.
Cation Exchange Capacity (CEC):
- CEC measures the soil’s ability to retain and exchange essential nutrients.
- Clayey soils generally have higher CEC than sandy soils.
- Improve CEC by adding organic matter like compost or manure.
Base Saturation:
- Measures the percentage of the soil’s CEC occupied by calcium, magnesium, and potassium.
- While once considered important, it’s less significant today due to more nuanced research findings.
Soil Testing Recommendations
Most soil testing services, especially those provided by local extensions, offer recommendations based on your results.
These suggestions typically include:
- Fertilizer and Nutrient Application: Guidelines for applying fertilizers and soil amendments to correct deficiencies and imbalances.
- pH Adjustment: Instructions on how to modify pH levels if necessary.
- Organic Matter Addition: Recommendations for enhancing soil structure and nutrient retention through the incorporation of organic matter.
Conclusion
Soil testing is an invaluable tool for any gardener or landscaper.
By understanding your soil’s unique composition and needs, you can promote healthy plant growth, reduce environmental impact, and save money on unnecessary treatments.
Regular soil testing ensures that your gardening efforts are tailored to your soil’s specific requirements, leading to thriving, vibrant landscapes and bountiful gardens.
So, roll up your sleeves, collect that soil sample, and embark on a journey to nurture the very foundation of your green spaces for years to come.
FAQS
Why is soil testing important for my garden or lawn?
Soil testing is crucial because it provides valuable insights into your soil’s nutrient content, pH level, and overall health. This information allows you to make informed decisions about fertilization, soil amendments, and other treatments, ensuring optimal conditions for plant growth.
How often should I test my soil?
For most gardens and lawns, testing every 2-3 years is recommended. However, if you’re experiencing specific plant health issues or making significant changes to your garden, more frequent testing may be necessary.
Can I use DIY soil test kits from the store instead of sending samples to a lab or extension service?
DIY soil test kits can provide some basic information about your soil, but they are often less accurate and comprehensive than professional lab tests. For more precise results and personalized recommendations, it’s advisable to send samples to a reputable soil testing laboratory or your local extension service.
What do I do if my soil test results indicate nutrient deficiencies?
If your soil test reveals nutrient deficiencies, follow the recommended guidelines provided with the results. This typically involves applying the appropriate type and amount of fertilizer or soil amendments to correct the deficiencies and improve nutrient levels.
How can I adjust soil pH based on my test results?
To raise pH (for acidic soils), you can add agricultural lime, while sulfur can be used to lower pH (for alkaline soils). Follow the application rates and guidelines provided in your soil test report for accurate adjustments.
Are there any environmentally friendly practices associated with soil testing?
Yes, soil testing promotes environmentally responsible gardening. By accurately assessing nutrient needs, you can avoid over-fertilization, which can lead to nutrient runoff and environmental pollution. This helps protect local waterways and ecosystems.
Can I use my soil test results for organic gardening practices?
Absolutely. Soil testing is equally valuable for organic gardening. It helps organic gardeners determine which organic amendments, such as compost, manure, or specific organic fertilizers, are needed to improve soil health and support organic plant growth.
Is it necessary to test soil for container gardening or indoor plants?
While container gardening and indoor plants use potting mix rather than garden soil, soil testing may still be beneficial. It can help you select the right potting mix or determine if your indoor plants require specific nutrients for healthy growth.
Can I conduct soil testing myself, or should I hire a professional?
You can collect soil samples yourself following proper guidelines, but it’s advisable to send them to a certified soil testing laboratory or utilize your local extension service for accurate analysis and expert recommendations. Professionals have the necessary equipment and expertise to provide reliable results.
Are there any resources available to help me interpret my soil test results?
Yes, most soil testing services, especially those provided by local extensions, offer recommendations and guidance along with your test results. If you have any questions or need further clarification, don’t hesitate to reach out to them for assistance.